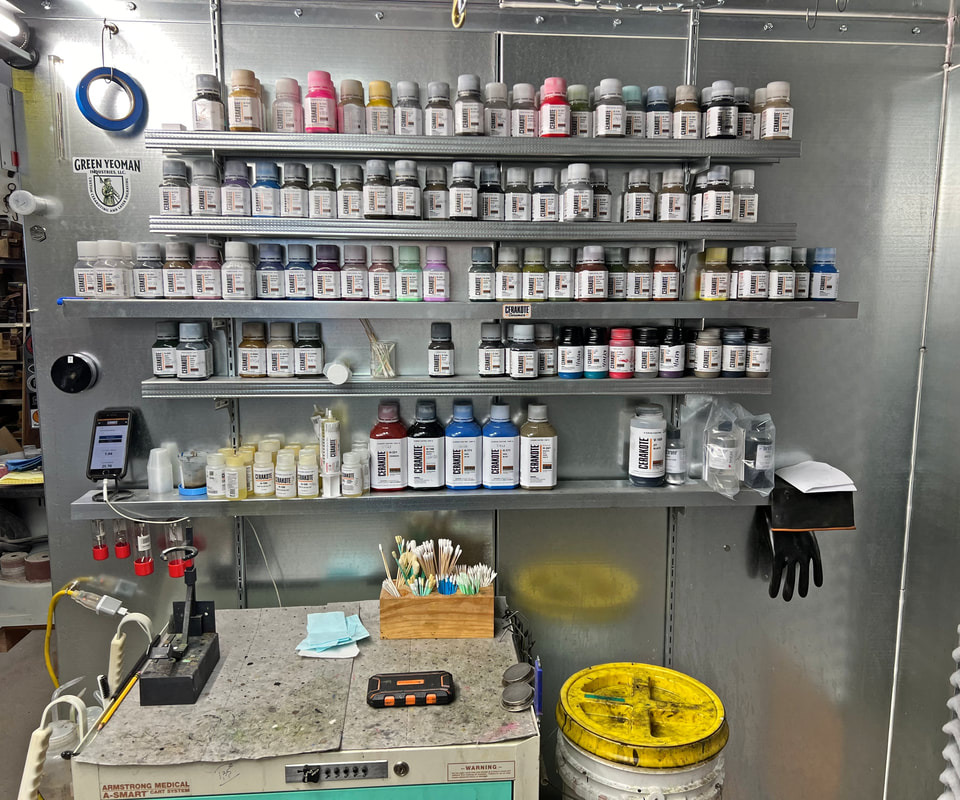
What is Cerakote?
What is Cerakote?
In a nutshell, Cerakote is a two-part, ultra-thin ceramic paint that can be applied to any hard surface such as metal, plastic and even wood. Ceramic is a very hard substance, which imparts protective properties to the item it was applied to. Cerakote adds corrosion and rust resistance, scratch resistance and even chemical resistance to the item.
Cerakote is a very thin coating, that is perfect for applying to items that have high tolerances such as pins in holes, and metal that slides in channels. As an example, Powder Coat is usually applied at about 4-6 mils thick (that's 4-6/1000 of an inch). Cerakote is applied at 1-2 mils, which still provides an opaque coating. Being that thin, Cerakote is excellent at painting over metal engravings and serial numbers without obscuring them or filling them in. Conversely, Cerakote is not good at filling in blemishes, scratches or dents. These imperfections will actually be acentuated by the coating.
Cerakote is a very thin coating, that is perfect for applying to items that have high tolerances such as pins in holes, and metal that slides in channels. As an example, Powder Coat is usually applied at about 4-6 mils thick (that's 4-6/1000 of an inch). Cerakote is applied at 1-2 mils, which still provides an opaque coating. Being that thin, Cerakote is excellent at painting over metal engravings and serial numbers without obscuring them or filling them in. Conversely, Cerakote is not good at filling in blemishes, scratches or dents. These imperfections will actually be acentuated by the coating.
How is Cerakote Applied?
Applying Cerakote is not just shaking up a can of spray paint and letting her rip. There is a mandatory multi-step process that has to be undertaken in order to achieve the best possible outcome.
We'll walk through the process of coating a firearm, which for most items is the typical process.
We'll walk through the process of coating a firearm, which for most items is the typical process.
- Ensure the firearm is safe and not loaded (This should be standard practice when handling a firearm, always)
- The firearm is completely disassembled to individual parts. Any surfaces that can not be removed and should not be painted are taped off with high temperature resistant tape, or plugged with silicone plugs. Items that are going to be painted go to step 3.
- All parts to be painted are degreased in a heated ultrasonic cleaner using aircraft grade Simple Green for minimum 30 min.
- Parts are rinsed with clean water and blown with clean, dry air to remove most water.
- Parts are racked for easy hanging using various hooks and wires, with silicone plugs inserted into any areas that should not receive paint.
- Parts are then dried in an industrial convection oven for 30 min at 175 - 300 degrees F depending on the material.
- Parts are then sand blasted with Alumnum Oxide down to bare metal. Plastic parts are scuffed with a medium scouring pad. This ensures a proper profile to allow the Cerakote to stick.
- Blased parts are then returned to the oven to "Gas Out" for an hour at 175 - 300 degrees F. This step allows any residual oil to come to the surface to be identified. If there is any oil after this step, we start over at step 3 and repeat until no oil is present. (This step can be the bane of my existence!)
- Paint is aggitated for a minimum of 10 min to ensure proper distribution of the solids.
- Cerakote and Catalyst are mixed by weight and strained through an appropriate mesh strainer.
- All parts are sprayed in our open faced, dry filter paint booh, using Cerakote recommended Iwata Spray Guns.
- All painted parts are allowed to air cure for 20 minutes to prevent "Solvent Pop."
- Parts are then placed back in the oven and heat cured for 2 hours. (250 F for metal parts, 175 F for plastic)
- Once removed from the oven and cooled to room temperature, the firearm is reassembled and all moving parts are function tested to ensure proper fit and function of the fiearm.


